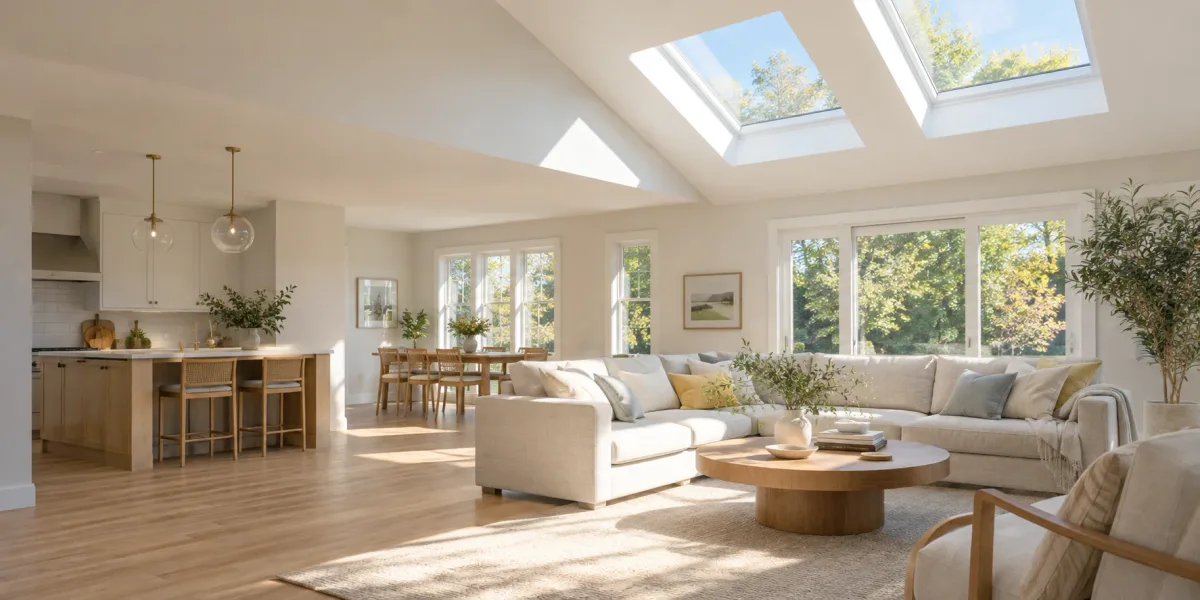
Cherry Hill Elite Skylights is an independent daylight-planning and assessment-routing resource. This guide explains a new roof opening that brings useful daylight into a specific room. It does not inspect a roof remotely, issue a permit decision, or claim that one product fits every property. A qualified provider should connect the room goal to the roof assembly and show the evidence behind the proposed skylight installation scope.
Define the skylight installation outcome before selecting a product
Start with the change the room needs. Write down when the space feels dark, where glare appears, whether ventilation or privacy matters, and which finishes should remain. Then record room use, ceiling plane, rafter layout, roof pitch, roof covering, orientation, shade, glazing target, shaft shape, and interior finish limits. These details turn a broad request into a property-specific brief.
The first decision is location and opening size before brand, blind, or control package. A catalog photograph cannot show the rafter bay, roof slope, shade pattern, drainage path, or interior transition at a Cherry Hill address. Ask the provider to label observed conditions, measurements, assumptions, and items that must remain open until work starts.
Match the daylight opening to the roof and room
Useful daylight is not simply the largest opening. Orientation, visible sky, tree cover, glazing, well shape, surface reflectance, and room use change how light arrives. A deep straight shaft behaves differently from a flared opening, and a west-facing unit can create a different afternoon condition than a north-facing one. Ask how the proposal balances daylight, glare, solar gain, privacy, ventilation, and furniture placement.
The roof still controls the weather boundary. Identify pitch, covering, age, valleys, ridges, drainage, nearby penetrations, mounting detail, underlayment, and safe access. The recommended unit and flashing need to be approved for that complete condition. Avoid placing the opening for curb appeal while ignoring glare, heat gain, structure, or the path of the light shaft.
Inspect the evidence specific to skylight installation
A useful assessment records both sides of the opening. Inside, document ceiling and shaft geometry, staining, cracks, trim, humidity, controls, condensation, and finish limits. Outside, document the roof field, curb or deck mount, glass or dome, frame, drainage, fasteners, flashing, sealant, debris, and signs of earlier work. Photographs should show context before close detail so another reviewer can locate each finding.
For this service, the decisive record includes room use, ceiling plane, rafter layout, roof pitch, roof covering, orientation, shade, glazing target, shaft shape, and interior finish limits. When a surface cannot be seen, the report should state that limit instead of filling it with a conclusion. If further removal or testing is required, the proposal should identify who authorizes it and how the work area will be protected.
Separate symptoms from causes before approving work
Water, fog, drafts, heat, glare, noise, sticking hardware, cracked finishes, and dim light are observations, not diagnoses. Similar symptoms can originate in the unit, flashing, roof, shaft, room humidity, glazing, controls, or a different nearby penetration. A durable proposal links each recommended action to a located condition and leaves unrelated work clearly outside the scope.
Weather history helps. Record the date, wind, rain, snow, temperature, indoor humidity, and operating condition when a symptom appears. That chronology is especially valuable when the service involves a new roof opening that brings useful daylight into a specific room. It gives the provider a testable starting point without asking the homeowner to climb or open the roof.
Build a complete skylight installation scope
The written scope should address layout, structural opening, underlayment, flashing system, skylight unit, shaft, insulation, air sealing, interior finish, cleanup, permit work, and closeout. Every item does not apply to every job, but every item should be either included, excluded, or marked for confirmation. Naming responsibility prevents the roofer, skylight installer, electrician, and interior finisher from assuming that another trade owns the transition.
Product references should include manufacturer, model, size, glazing, mount type, flashing or membrane system, controls, accessories, and approved roof range. Substitutions need written review because a similar outside dimension does not guarantee the same rough opening, curb, flashing, glass, or control compatibility.
Sequence skylight installation without hiding the roof opening
A practical sequence is to confirm the roof and room, mark the opening, protect the interior, complete structural and weather work, build and finish the shaft, then document the result. Inspection points should remain visible until the responsible reviewer approves them. Interior protection and temporary weather protection belong in the plan before removal, not after the opening is exposed.
Ask what happens if damaged sheathing, framing, curb material, insulation, wiring, or old flashing appears. A change condition should say what evidence will be shown, how pricing will be approved, and whether work pauses. That is more useful than a broad allowance with no trigger.
Compare Cherry Hill proposals in matching cost bands
The main cost drivers are unit size, glazing, controls, roof access, framing changes, shaft depth, electrical work, finish level, and inspection timing. Place every quote into the same bands: assessment and design, product and approved accessories, roof and structural work, interior and control work, permit and inspection tasks, then closeout. The skylight installation cost guide provides a fuller comparison framework.
Online averages cannot measure this roof opening or room. A lower total may omit a shaft, painting, electrical work, roofing, permit coordination, disposal, or hidden-condition allowance. A higher total may include work another quote leaves to the homeowner. Compare the outcome, not only the last line.
Confirm the current municipal and code path
New Jersey publishes the Uniform Construction Code through the Division of Codes and Standards. Cherry Hill provides a current permit starting point. Confirm the exact address, work description, applicable subcodes, plan requirements, inspections, and responsibility before work. This site summarizes planning questions and does not make a legal or permit determination.
Energy performance also belongs in the product record. ENERGY STAR explains that skylight performance depends on ratings and climate criteria, while the Department of Energy describes daylight as part of the building design rather than an isolated fixture. Use current manufacturer instructions for the selected system.
Close the skylight installation project with a transferable record
Keep model and serial details, flashing kit, glazing specification, installation photographs, permit record, care guidance, and written warranty. Match every photograph and document to the room and roof opening. If a project contains multiple skylights, give each one a stable label before work begins and reuse it in proposals, permits, images, invoices, and future service notes.
The closeout walk-through should demonstrate operation, controls, shades, ventilation, locks, screens, and care limits when they apply. Check the surrounding roof and interior finish from safe locations, record anything intentionally deferred, and identify the first maintenance or observation point. A future owner should be able to understand what changed without relying on memory.
Prepare a useful assessment request
Share the Cherry Hill or nearby town, room, roof type, approximate unit age, labels, photographs, symptoms, timing, and any roofing or remodeling plan. Include prior invoices, warranties, permits, and repair notes if available. Do not remove glass, climb the roof, or open wet electrical controls to collect information.
For property-specific follow-up, send the room, roof, and project details or call the number shown on this page. The request will be reviewed and may be routed to a local provider who can inspect the property. Compare all skylight services, the local planning guides, and the Cherry Hill daylight planning guide before approving a final scope.
Sources and planning references
- Cherry Hill permits and Construction Office
- New Jersey Division of Codes and Standards
- ENERGY STAR residential windows, doors, and skylights
- U.S. Department of Energy daylighting overview
- VELUX installation help
Before the assessment
01Where should a new skylight go?
The room goal, roof orientation, framing, shaft path, glazing, glare, and exterior weather details should be reviewed together before the opening is fixed.
02Does every installation need the same permit?
No. Confirm the current Cherry Hill or applicable municipal path for the exact address and scope before work begins.
03Can installation be priced from the room size alone?
No. Roof access, framing, pitch, unit type, flashing, shaft construction, interior finish, and controls can all change the scope.